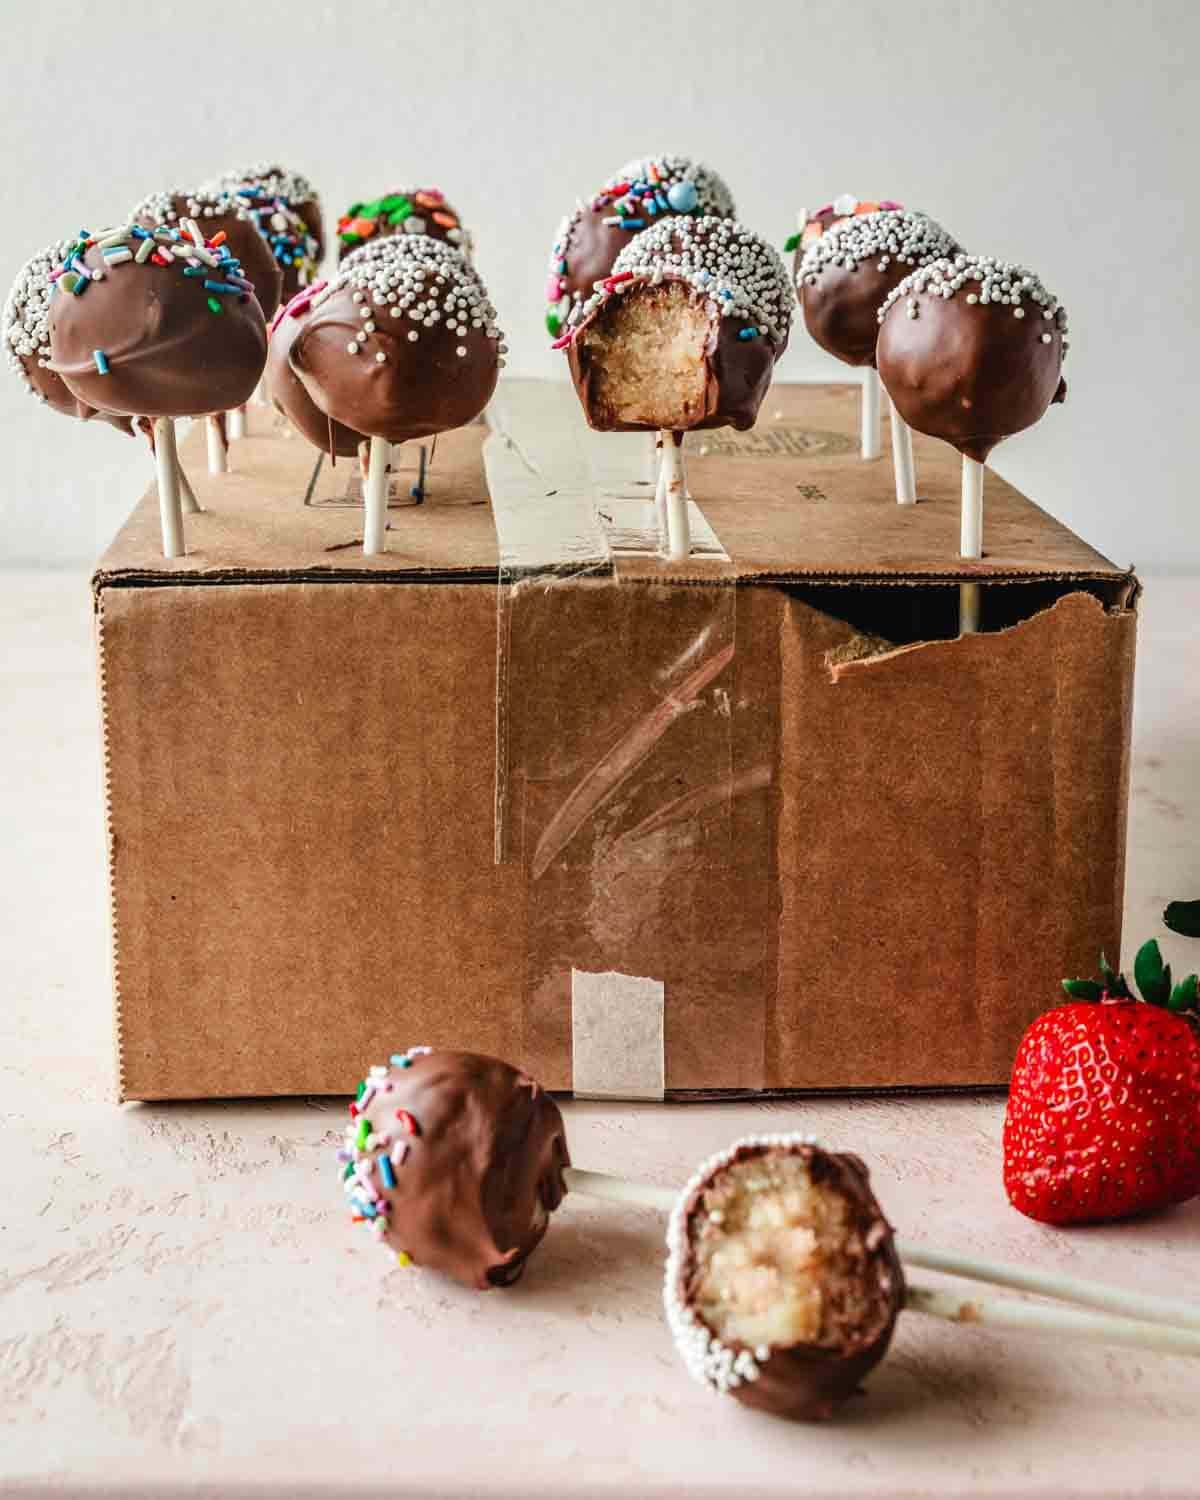
Is there anyone in the world who doesn’t like cake pops? I haven’t met them yet! These pink-hued strawberry cake pops are the perfect bite-size treat. Made with moist vanilla cake and pink strawberry frosting, they’re irresistibly delicious. Recipe yields 40 cake pops.
The finished strawberry cake balls can be dipped in any kind or color of melted chocolate or candy melts and decorated (or not) however you like.
Be sure to check out these other bite-sized treats and my cake recipe collection for more easy recipes.

This post may contain affiliate links. If you click on a link and then make a purchase, I may get a small commission from that sale, at no extra cost to you.
How cake pops are made
These perfect bite-sized dessert treats are made by mixing cake crumbs with frosting. Then they are rolled into balls that resemble strawberry cake truffles, they're speared with a stick, and dipped in melted chocolate to coat the outside.
Leftover cake is perfect for making these treats. Often, just like in this recipe, very little frosting is needed. The frosting's role in cake pops is to simply hold the cake balls together. Adding too much frosting will weigh the cake pops down, making them too heavy to hold on the stick.
The excess frosting will also make the cake balls too wet, preventing them from having the correct consistency for holding the cake together on a stick.
My biggest piece of advice is to add the frosting a little at a time to the cake crumbs, mixing well in between, then forming a "test" cake ball in your hands by squeezing the cake mixture together to see if it stays together. If it does, do not add anymore frosting.
If the cake seems too dry and crumbles apart in your hand, add a bit more frosting and repeat this process to ensure the cake balls stays together with the minimum amount of frosting.
Reader Review
Kim, great recipe; the cake pops came out so delish! Had fun making it with my girl. Will try your other recipes. Thanks!!
Ti

Ingredients needed to make homemade strawberry cake pops
We will start by making the cake then the frosting. Keep in mind if you do not have time to prepare a cake from scratch, you can opt to use a box cake mix. Opt for vanilla cake mix or strawberry cake mix for even more strawberry flavor. You can also use leftover cake for this recipe or prepared store-bought cake. This is one of the easiest ways to make easy strawberry cake pops, for sure.
For the cake
- All-purpose flour: Use the scoop and level technique to measure your flour. Scoop the flour into the measuring cup then level the top with the back of the spoon or knife. This will assure you get the correct amount and the best texture. Alternatively, it's always a good idea to measure your flour with a kitchen scale. I provide my recipes bu default in US customary measurements (cups), however, you can toggle the Metric button in the recipe card below to see the weight measurements (grams, milliliters) for all the ingredients.
- Baking powder: Be sure to check the expiration date on your baking powder and baking soda before using these ingredients in your baking recipes. Expired leavening agents such as baking powder and baking soda may not allow your baked recipes to rise the way they should.
- Baking soda: see note above for baking powder.
- Salt: Feel free to adjust the amount of salt based on your preference. Note, although it seems counterintuitive, salt is a necessary ingredient in baking recipes. It helps to balance the sweetness without making your recipe taste salty (unless that's the desired affect based on the recipe!)
- Butter: look for unsalted butter for this recipe. That way, you can control the amount of salt in the recipe. If you can only find salted butter (in your fridge or in the store), cut the added salt in the recipe in half or omit altogether, depending on your preference. Be sure to remove the butter from the fridge at least 30 minutes prior to baking to ensure if has enough time to come to room temperature. We want softened butter, as this will incorporate more evenly into the batter without leaving behind chunks of butter that can effect how the cake bakes.
- Sugar: Use regular white sugar, aka granulated sugar for this cake recipe.
- Egg: Use a large egg for this recipe. Be sure to remove the egg from the fridge at least 30 minutes prior to baking to ensure it has come to room temperature. Cold eggs will try to stay together when mixing into other ingredients, whereas room temperature eggs will incorporate much more evenly into the other ingredients when mixing. The goal is to have a mixture where all ingredients are evenly combined so the cake bakes up correctly.
- Vanilla extract: I prefer to use real vanilla extract versus imitiation vanilla. I think it makes a difference in the flavor of the baked cake. Use the highest quality vanilla you can afford.
- Milk: Use whole milk or 2% milk for this recipe. I would not recommend using skim milk or nonfat milk, as the consistency is not as thick and may impact the consistency of the cake batter and baked cake. Nondairy milk may be substituted, although I have not tried making this cake with it, so I cannot attest to the end result.

Next, we'll prepare the strawberry frosting. This frosting gets mixed into the cake crumbs to create the cake balls. It acts as the glue to hold the cake pops together while providing great strawberry flavor.
Similar to my comment above about using a cake mix box instead of making a cake from scratch for these cake pops, feel free to use prepared strawberry frosting for this recipe. For best results though, I highly recommend making this frosting recipe. It provides a much better flavor than canned frosting. Cream cheese frosting may also be substituted if you are using a boxed strawberry cake mix.
For the strawberry frosting
- Vanilla extract: I prefer to use real vanilla extract versus imitation vanilla. I think it makes a difference in the flavor of the baked cake. Use a high quality vanilla, if possible, as this will help give the best possible flavor.
- Strawberries: Using fresh strawberries, especially when they are in season, is the best way to get strawberry flavor. Be sure to wash and hull (remove the stem) from your whole strawberries before using. You may substitute with thawed frozen strawberries instead if you cannot get fresh strawberries or they are out of season. I have not tried making this recipe with freeze-dried strawberries or strawberry powder, so I am unsure how it would come out.
- Butter: look for unsalted butter for this recipe. Be sure to remove the butter from the fridge at least 30 minutes prior to baking to ensure if has enough time to come to room temperature. We want softened butter, as this will incorporate more evenly into the frosting without leaving behind chunks of butter that can effect how the taste and consistency of the frosting. We want smooth, creamy frosting and room temperature butter is the best way to ensure that.
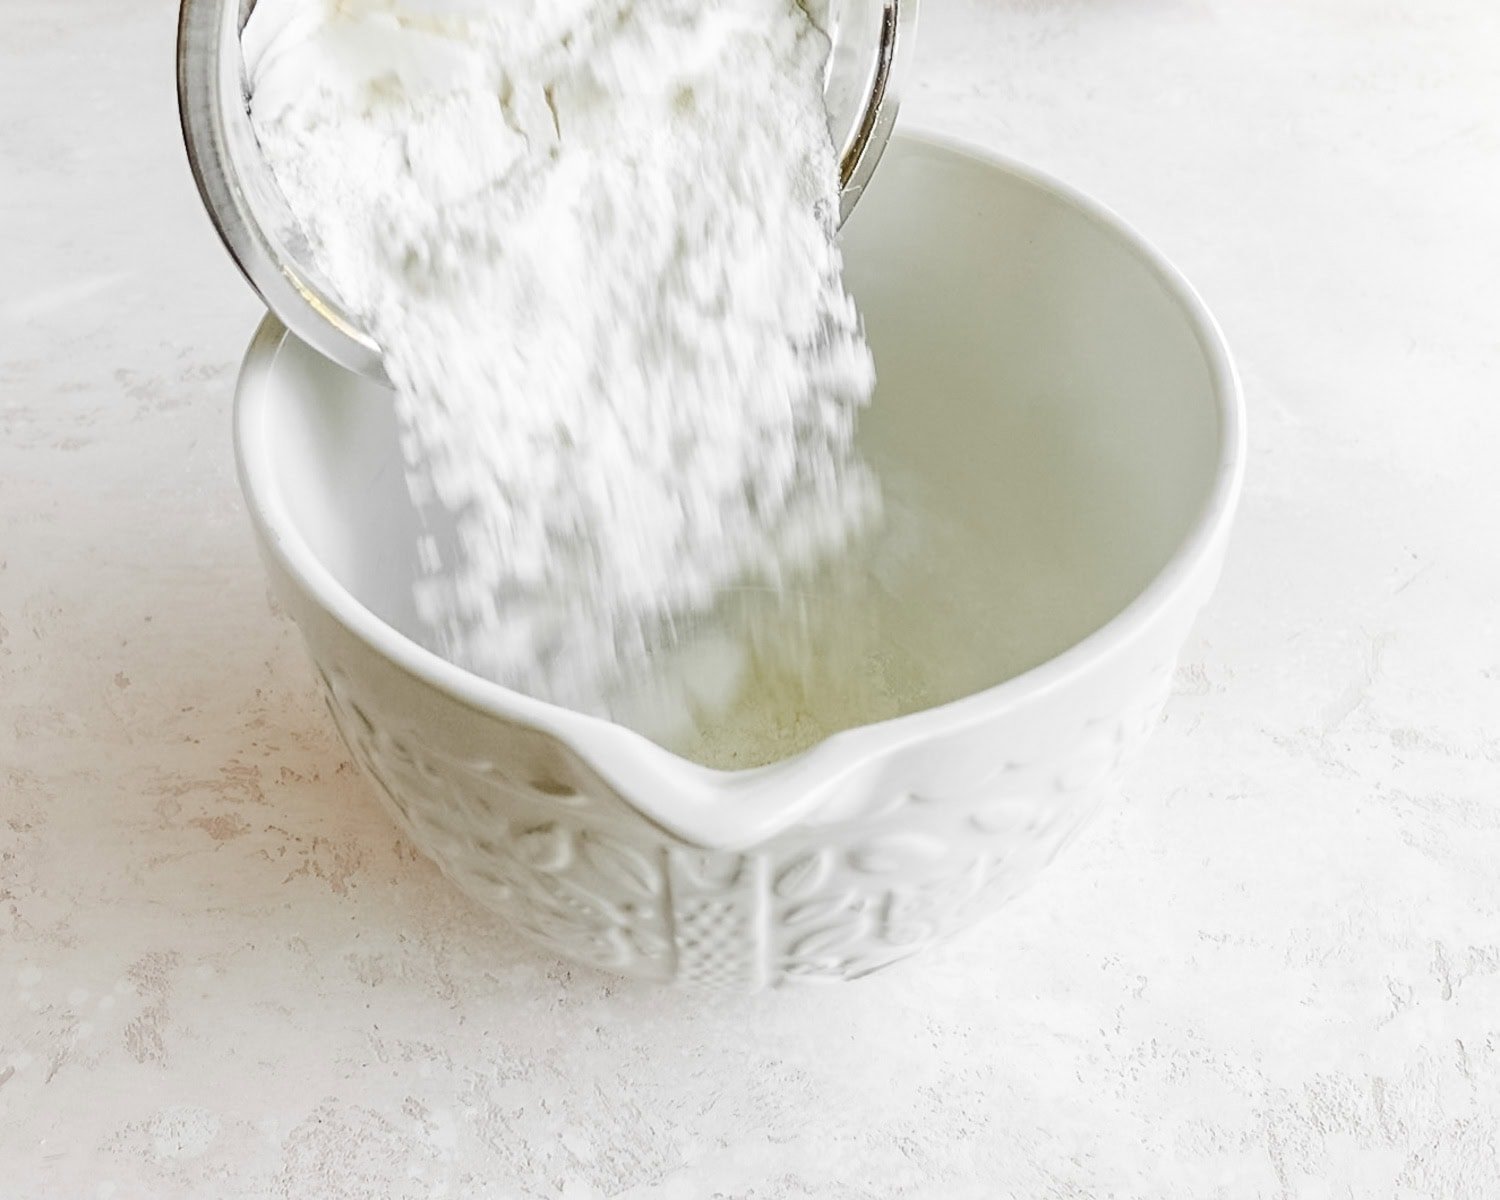
- Powdered sugar: Otherwise known as confectioners sugar. I typically do not sift my powdered sugar, however, if yours is particularly lumpy, feel free to do so before adding it to the frosting mixture.
- Salt, optional: Add a pinch of salt to balance the sweetness of this frosting.

The last step is to dip the cake balls, made of cake crumbs mixed with frosting, into melted chocolate. This gives the cake pops a beautiful finish and a crunch on the outside of the soft cake inside for a great textural contrast everyone loves.
- Chocolate: I highly recommend using candy melts for this cake pops recipe. They melt much better than chocolate chips, especially melted white chocolate chips, and they are intended to be used for this purpose so they melt well. Feel free to use whatever color yours heart desires! For a Valentine's Day sweet treat try using pink candy melts. For white cake pops, use white candy melts. I typically purchase candy melts in all different colors from my local craft store, Amazon, or store that sells candy making supplies. Merckens is my preferred brand of candy melts, but any will do.
- Sprinkles, optional: If making cake pops for baby showers, birthday parties, or other celebrations, add some festive sprinkles to the outside and top of the cake pop. Sprinkles are best added when the chocolate is still warm and melty, acting like glue for the sprinkles to stick to the chocolate as it cools and hardens.

Equipment needed to make homemade cake pops
- Styrofoam block, cake pop stand, or small to medium cardboard box: to allow your cake pops to set up properly (aka, the melted chocolate to harden on the outside), you need to place them upright but not touching each other. You can purchase a cake pop stand from a craft store or candy making supply store or use a Styrofoam block to press the cake pops into, spacing them apart so they do not touch. You can alternately take a cardboard box, turn it upside down, and poke small holes into it, leaving about 2 inches between each hole so the cake pops don’t touch and get stuck together. This is the easiest way and the cheapest way to make a cake pop stand. As you can see from the photos, this is what I did.
- Lollipop sticks: these are used, you guessed it, to hold the bake balls on top of. Popsicle sticks can also be used. I purchase lollipop sticks from my grocery store in the baking aisle, my local craft store, or Amazon. They are inexpensive and typically come in large packs of 50 or 100, so you'll have plenty leftover to make many batches of cake pops!

Cake pop stand
Use a cake pop stand to easily prepare these cake pops. Stands like these allow the chocolate coating to harden without damaging or smooshing the beautiful outside coating.
Step-by-step process for making these homemade strawberry cake pops
Step 1
Preheat oven to 350°F. Spray a 9-inch round cake pan with nonstick spray and line with a piece of parchment paper. Set aside.
If you do not have a piece of round parchment paper, here are instructions for how to line a round cake pan with parchment paper. You can trace the bottom of the cake pan with a pen or marker onto the parchment and cut that out. However, this produces a lot of waste and the ink on the parchment will now be in contact with your cake.
Take a sheet of parchment paper and fold it into a square by folding one corner to the opposite side, aligning the corner to where it meets the opposite edge so you have a big triangle. Cut the excess from the bottom and reserve for another use.
Fold one corner of the triangle towards the opposite corner to make a smaller triangle. Repeat one more time so you have a smaller triangle.
Take the point of the triangle where all the folds are and hold in the middle of the overturned round pan. While holding that in place with your finger, trim the bottom of the triangle following the edge of the pan. Reserve the scraps to help spread butter on pans in other baking recipes.
Unfold the triangle and place into the bottom of the sprayed pan. Set aside the prepared pan.


Step 2 - Make the cake
Whisk the flour, baking powder, baking soda, and salt together in a medium bowl or large mixing bowl. Set aside.


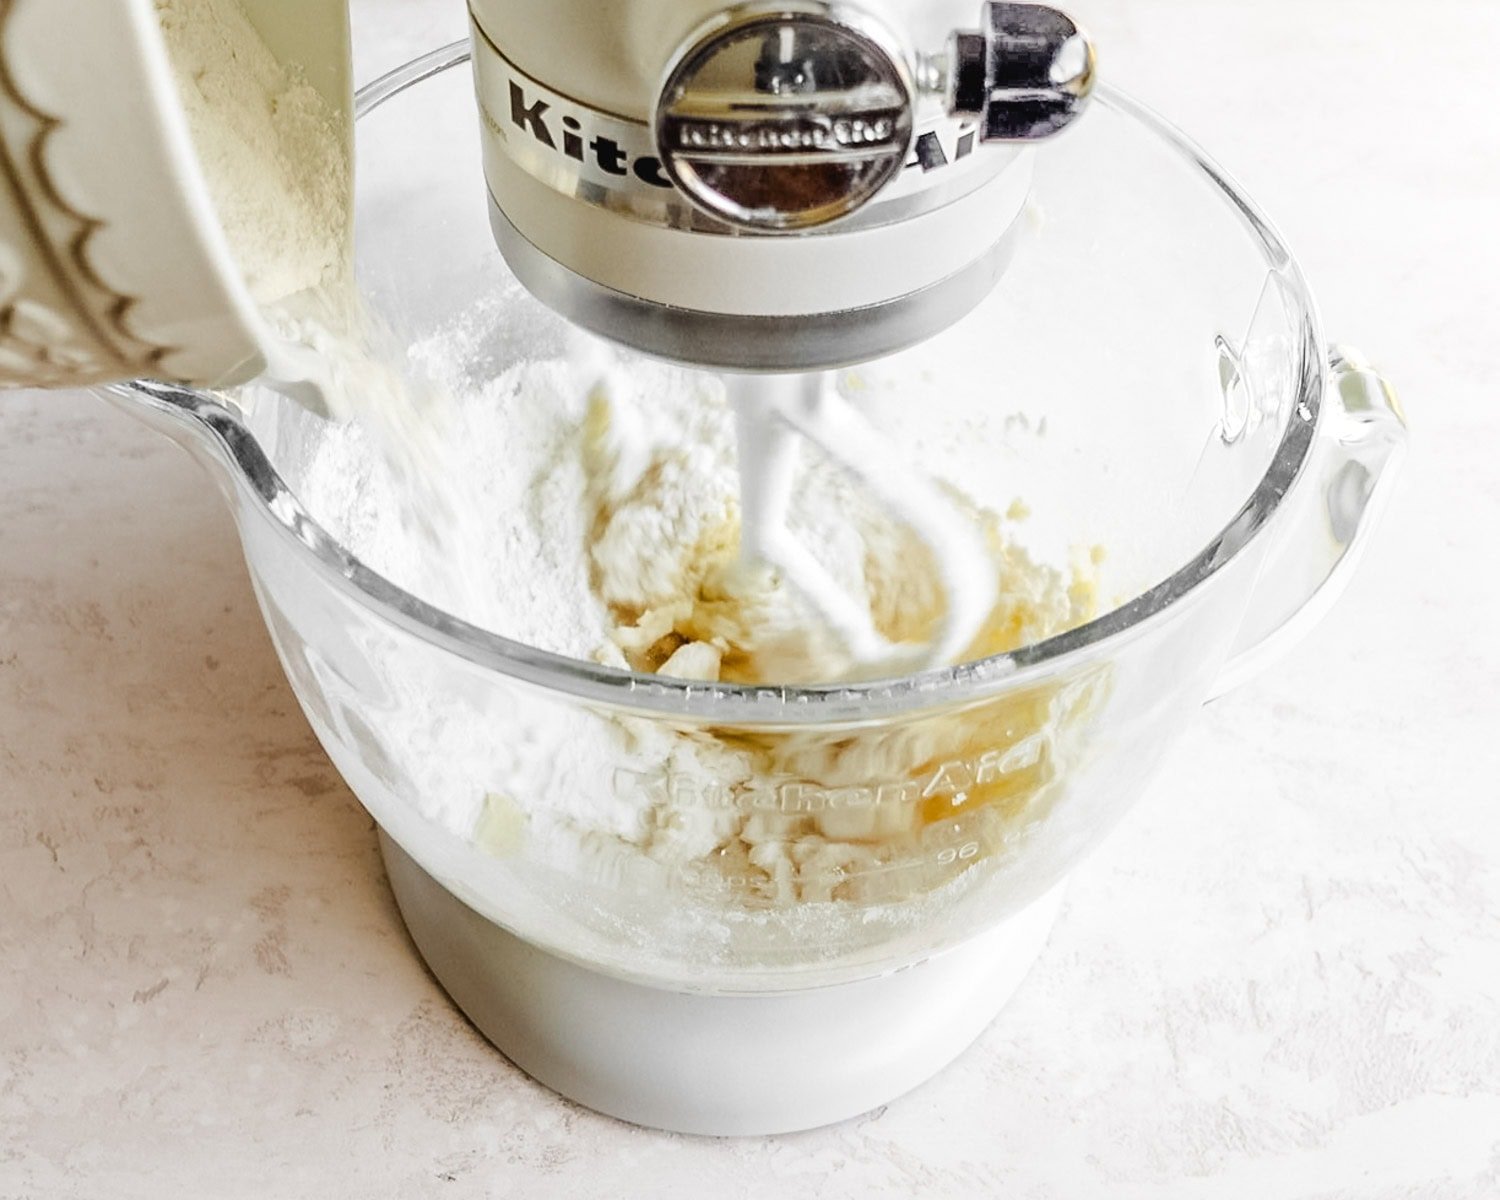
Using a hand mixer, electric mixer, or stand mixer fitted with a paddle attachment, beat the softened butter and sugar together in a large bowl until creamed, about 2 minutes.


Add the egg and vanilla extract and beat on high speed until combined. Scrape down the bottom and sides of the bowl as needed.


With the mixer running on low speed, add the dry ingredients alternating with the milk to the wet ingredients until combined. Start by adding ⅓ of the flour and mixing on low, then add ½ the milk. Next, add another ⅓ of the flour mixture followed by the rest of the milk. Lastly, add the remaining flour. Adding the flour this way instead of all at once allows it to absorb into the wet ingredients. Otherwise, you'll be left with dry patches of flour in your cake.
Scrape the bottom and sides of the bowl to make sure the mixture is fully incorporated.


Pour the batter into the prepared pan. Bake cake for 30-35 minutes or until a toothpick inserted in the center comes out clean. If the top begins browning too quickly in the oven, loosely place a piece of aluminum foil on top.


Allow the cake to cool completely in the pan set on a wire rack. Meanwhile, prepare the frosting.
Step 3 - Make the strawberry frosting
Place strawberries in a blender or food processor and puree until smooth.Transfer the strawberry puree to a small saucepan and place over medium heat. Bring to a boil, stirring frequently so strawberries don’t burn or stick to bottom of the pan.
Cook until puree is reduced by at least half, about 20 minutes. While the puree is reducing, water is evaporating from the mixture, concentrating the beautiful strawberry flavor.
Remove the reduced puree from the heat and allow to cool completely.


In a large bowl, beat the butter with a handheld mixer or stand mixer until light and fluffy, about 2-3 minutes.
Add 1 cup of the powdered sugar into the butter just until blended, scraping the sides and bottom of bowl to make sure all the sugar is blended.
Add 2 tablespoons of the cooled strawberry puree into the butter/sugar mixture and beat on medium speed until well blended. Repeat with 1 cup powdered sugar, followed by 2 tablespoons strawberry puree 2 more times, then beat last ½ cup powdered sugar into mixture until well blended. Add the vanilla extract then a pinch of salt.
Whip the frosting on medium-high speed until light and fluffy.


Step 4 - Form the cake balls
Take the cooled cake and crumble it with clean hands into a large bowl, making sure there are no large lumps or large pieces of cake. I like to mix it on low in the stand mixer to ensure there's no large lumps.


Add about one third of the frosting and mix on low gently until the cake crumbs and frosting come together, slowly adding in frosting a little bit at a time until the crumbs and frosting combine.
To check if you've added enough frosting, stop the mixer and then form a "test" cake ball in your hands by squeezing the cake mixture together to see if it stays together. If it does, do not add any more frosting.
If the cake seems too dry and crumbles apart in your hand back into the bowl, add a bit more frosting and repeat this process to ensure the cake balls stays together with the minimum amount of frosting. Note, you may end up using only some of the frosting.


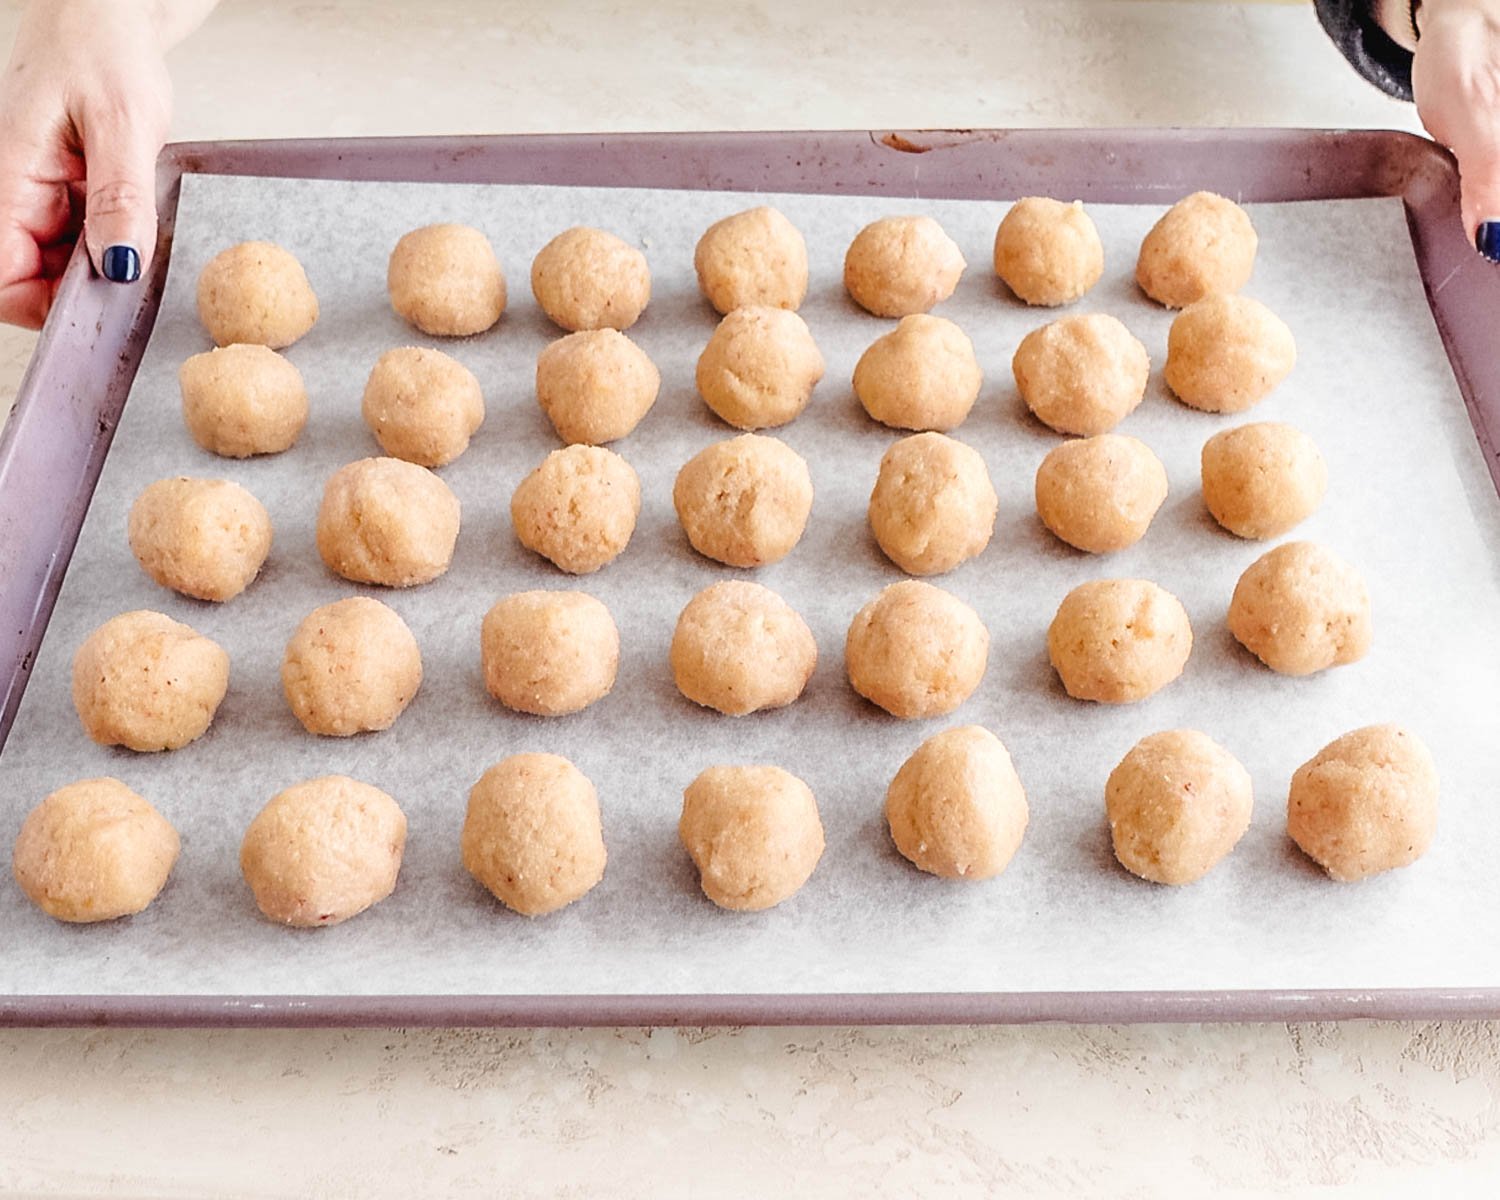
Measure 1 tablespoon of the cake/frosting mixture and roll into a ball. Alternately, use a small cookie scoop to portion out the cake balls. Place balls on a parchment paper lined baking sheet or cookie sheet. Repeat until you've used all the cake/frosting mixture. Refrigerate the cake balls for 2 hours or freeze for 1 hour.


FOR ALL MY FAVORITE BAKING TOOLS INCLUDING THOSE USED TO MAKE THIS RECIPE, CHECK OUT MY BAKING RESOURCES PAGE!
Step 5 - Dip the cake pops
Melt chocolate coating or candy melts in a 2-cup measuring cup or microwave safe bowl in the microwave according to the package directions. Alternately, melt in a double boiler if you have one. Remove only 2-3 cake balls from the refrigerator/freezer at a time. Re-roll the chilled balls to smooth out, if needed.
Dip a lollipop stick about ¼ inch into the coating, then insert into the center of the cake ball, being careful not to push it all the way through the top. This melted chocolate will act as glue to hold the cake pop to the stick when it hardens.
Dip the cake ball into the coating until it is completely covered. Make sure the chocolate covers the base of the cake ball where it meets the lollipop stick. Very gently tap the stick against the edge of the measuring cup to allow excess chocolate/excess coating to drop off into the measuring cup.


If using, immediately sprinkle the melted chocolate with sprinkles and place upright into a styrofoam block, cake pop stand, or cardboard box.
Repeat with remaining cake balls, only working with some out of the refrigerator at a time. The cake balls must be very cold when dipping or they will fall apart in the chocolate.


Allow cake pops to set for 1 hour and enjoy!
Like this recipe? Follow me on Pinterest for lots more recipes just like this one! And don’t forget to pin this recipe for later by clicking on one of the images below the recipe. Or, click on any of the images in this post to save to Pinterest.

Pro tips
- Cake pops may be stored in the refrigerator for up to 1 week or frozen for several weeks. I store mine in a mason jar loosely covered with a ziplock bag or plastic wrap.
- Make ahead tip: Prepare the cake 1 day ahead of time. Cover and keep at room temperature then proceed with remaining instructions to prepare cake pops
- Undipped cake balls may be stored in the refrigerator for up to 2 days or frozen for up to 6 weeks in an airtight container. Allow to thaw in the refrigerator then continue with coating the cake balls as instructed. Dipped cake pops may also be frozen for up to 6 weeks once the coating has fully set. Thaw overnight in the refrigerator.

Did you enjoy a KICKASS BAKER recipe? Please share a comment and leave a 5 Star ⭐️⭐️⭐️⭐️⭐️ Rating on this recipe! We appreciate you sharing your feedback!

Ingredients
Cake
- 1 ⅔ cups all-purpose flour
- ½ teaspoon baking powder
- ¼ teaspoon baking soda
- ½ teaspoon salt
- ½ cup unsalted butter room temperature
- 1 cup granulated sugar
- 1 large egg room temperature
- 2 teaspoon vanilla extract
- 1 cup whole milk
Strawberry Frosting
- 1 cup whole, fresh strawberries washed and hulled
- 1 cup unsalted butter room temperature
- 3 ½ cups powdered sugar
- pinch salt
- 1 teaspoon vanilla extract
- chocolate candy melts any color
- sprinkles optional
Instructions
- Preheat oven to 350°F. Grease with butter and flour a 9-inch round cake pan. Set aside.If you do not have a piece of round parchment paper, here are instructions for how to line a round cake pan with parchment paper. You can trace the bottom of the cake pan with a pen or marker onto the parchment and cut that out. However, this produces a lot of waste and the ink on the parchment will now be touching your cake.Take a sheet of parchment paper and fold it into a square by folding one corner to the opposite side, aligning the corner to where it meets the opposite edge so you have a big triangle. Cut the excess from the bottom and reserve for another use.Fold one corner of the triangle towards the opposite corner to make a smaller triangle. Repeat one more time so you have a smaller triangle.Take the point of the triangle where all the folds are and hold in the middle of the overturned round pan. While holding that in place with your finger, trim the bottom of the triangle following the edge of the pan. Reserve the scraps to help spread butter on pans in other baking recipes.Unfold the triangle and place into the bottom of the sprayed pan. Set aside the prepared pan.
Make the cake
- Whisk the flour, baking powder, baking soda, and salt together in a medium bowl or large mixing bowl. Set aside.1 ⅔ cups all-purpose flour, ½ teaspoon baking powder, ¼ teaspoon baking soda, ½ teaspoon salt
- Using a hand mixer, electric mixer, or stand mixer fitted with a paddle attachment, beat the softened butter and sugar together in a large bowl until creamed, about 2 minutes.½ cup unsalted butter, 1 cup granulated sugar
- Add the egg and vanilla extract and beat on high speed until combined. Scrape down the bottom and sides of the bowl as needed.1 large egg, 2 teaspoon vanilla extract
- With the mixer running on low speed, add the dry ingredients ⅓ at a time, alternating with the milk, starting and ending with the flour. Scrape the bottom and sides of the bowl to ensure all the flour is incorporated. Do not overmix.1 cup whole milk
- Pour the batter into the prepared pan. Bake cake for 30-35 minutes or until a toothpick inserted in the center comes out clean. If the top begins browning too quickly in the oven, loosely place a piece of aluminum foil on top.
- Allow the cake to cool completely in the pan set on a wire rack. Meanwhile, prepare the frosting.
Make the strawberry frosting
- Place strawberries in a blender or food processor and puree until smooth. Transfer the strawberry puree to a small saucepan and place over medium heat. Bring to a boil, stirring frequently so strawberries don’t burn or stick to bottom of the pan. Cook until puree is reduced by at least half, about 20 minutes. Remove from heat and allow to cool completely.1 cup whole, fresh strawberries
- In a large bowl, beat the butter with a handheld mixer or stand mixer until light and fluffy, about 2-3 minutes. Beat 1 cup powdered sugar into the butter just until blended, scraping the sides and bottom of bowl to make sure all the sugar is blended.1 cup unsalted butter, 3 ½ cups powdered sugar
- Add 2 tablespoons of the cooled strawberry puree into the butter/sugar mixture and beat on medium speed until well blended. Repeat with 1 cup powdered sugar, followed by 2 tablespoons strawberry puree 2 more times, then beat last ½ cup powdered sugar into mixture until well blended. Add the vanilla extract and salt. Whip the frosting on medium-high speed until light and fluffy.1 teaspoon vanilla extract, pinch salt
Form the Cake Balls
- Take the cooled cake and crumble it with clean hands into a large bowl, making sure there are no large lumps or large pieces of cake. Add about ⅓ of the frosting and mix on low gently until the cake crumbs and frosting come together, slowly adding in frosting a little bit at a time until the crumbs and frosting combine. Tip: To check if you've added enough frosting, stop the mixer and then form a "test" cake ball in your hands by squeezing the cake mixture together to see if it stays together. If it does, do not add any more frosting. If the cake seems too dry and crumbles apart in your hand back into the bowl, add a bit more frosting and repeat this process to ensure the cake balls stays together with the minimum amount of frosting. Note, you may end up using only some of the frosting.
- Measure 1 tablespoon of the cake/frosting mixture and roll into a ball. Alternately, use a small cookie scoop to portion out the cake balls. Place balls on a parchment paper lined baking sheet or cookie sheet. Repeat until you've used all the cake/frosting mixture. Refrigerate the cake balls for 2 hours or freeze for 1 hour.
Dip the cake pops
- Melt chocolate coating or candy melts in a 2-cup measuring cup or microwave safe bowl in the microwave according to the package directions. Alternately, melt in a double boiler if you have one. Remove only 2-3 cake balls from the refrigerator/freezer at a time. Re-roll the chilled balls to smooth out, if needed.chocolate candy melts
- Dip a lollipop stick about ¼ inch into the coating, then insert into the center of the cake ball, being careful not to push it all the way through the top. This melted chocolate will act as glue to hold the cake pop to the stick when it hardens. Dip the cake ball into the coating until it is completely covered. Make sure the chocolate covers the base of the cake ball where it meets the lollipop stick. Very gently tap the stick against the edge of the measuring cup to allow excess chocolate/excess coating to drop off into the measuring cup.
- If using, immediately sprinkle the melted chocolate with sprinkles and place upright into a styrofoam block, cake pop stand, or cardboard box. Repeat with remaining cake balls, only working with some out of the refrigerator at a time. The cake balls must be very cold when dipping or they will fall apart in the chocolate.sprinkles
- Allow cake pops to set for 1 hour and enjoy!
Notes
- To enable your cake pops to set up properly, you need to place them upright but not touching each other. You can purchase a cake pop stand, use a Styrofoam block or take a cardboard box, turn it upside down, and poke small holes into it, leaving about 2 inches between each hole so the cake pops don’t touch and get stuck together. Voila!.
- Cake pops may be stored in the refrigerator for up to 1 week or frozen for several weeks. I carefully place mine in a mason jar and covered with a ziplock bag or plastic wrap.
- Make ahead tip: Prepare the cake 1 day ahead of time. Cover and keep at room temperature then proceed with remaining instructions to prepare cake pops
- Undipped cake balls may be stored in the refrigerator for up to 2 days or frozen for up to 6 weeks. Allow to thaw in the refrigerator then continue with coating the cake balls as instructed. Dipped cake pops may also be frozen for up to 6 weeks once the coating has fully set. Thaw overnight in the refrigerator.
- Recipe adapted from and inspired by Sally’s Baking Addiction.
Comments
Ti says
Kim, great recipe; the cake pops came out so delish! Had fun making it with my girl. Will try your other recipes. Thanks!!
Robyn says
Sounds delish! I bet the cheesecake ones would be great too. I’ll look forward to seeing that recipe in a future post. 🙂