Reader Review
I have made this twice in the last 8 days. I can't wait to make it again!!! It's simple. It's very tasty. It's Not Dry! It's.. not dry!! It tastes great!
Sylvia

Please note: As an Amazon Associate I earn from qualifying purchases made by clicking the links in my post.
The magic of homemade challah bread
This bread has the consistency of a brioche bread due to the addition of the eggs and egg yolks making it perfectly fluffy and soft.
If making the dough ahead of time, after the first rise and after shaping, place the dough in the fridge for the second rise and bake in the morning.
This is a simple, 4-strand braid. Details about how to braid with four strands are included below and in the recipe itself. There is also a video included showing how to braid this challah.

The magic of Tangzhong Challah braided loaf bread
Unlike most Challah recipes, this one begins by making a flour paste known as a tangzhong. This is simply a mixture of flour and water that's heated, or pre-cooked, to form a paste. This technique produces softer yeast breads which is exactly what we want in a challah.


How to make the Best Challah Bread recipe

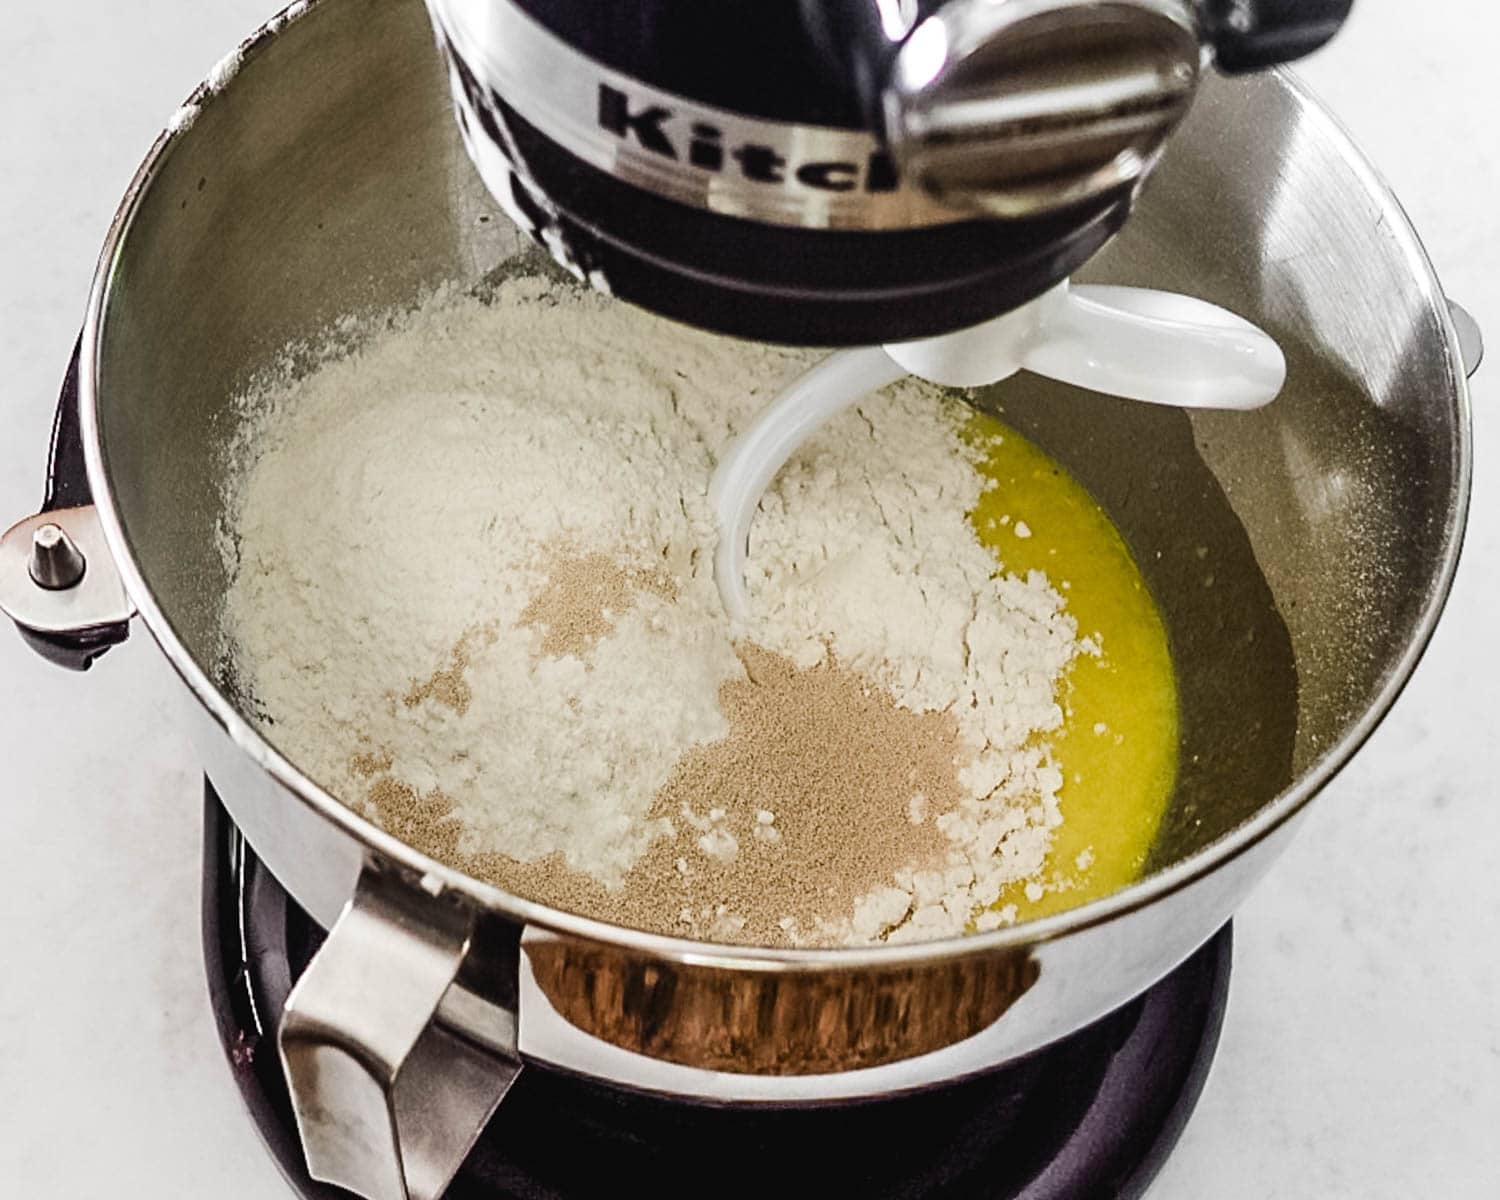
add the flour and yeast.
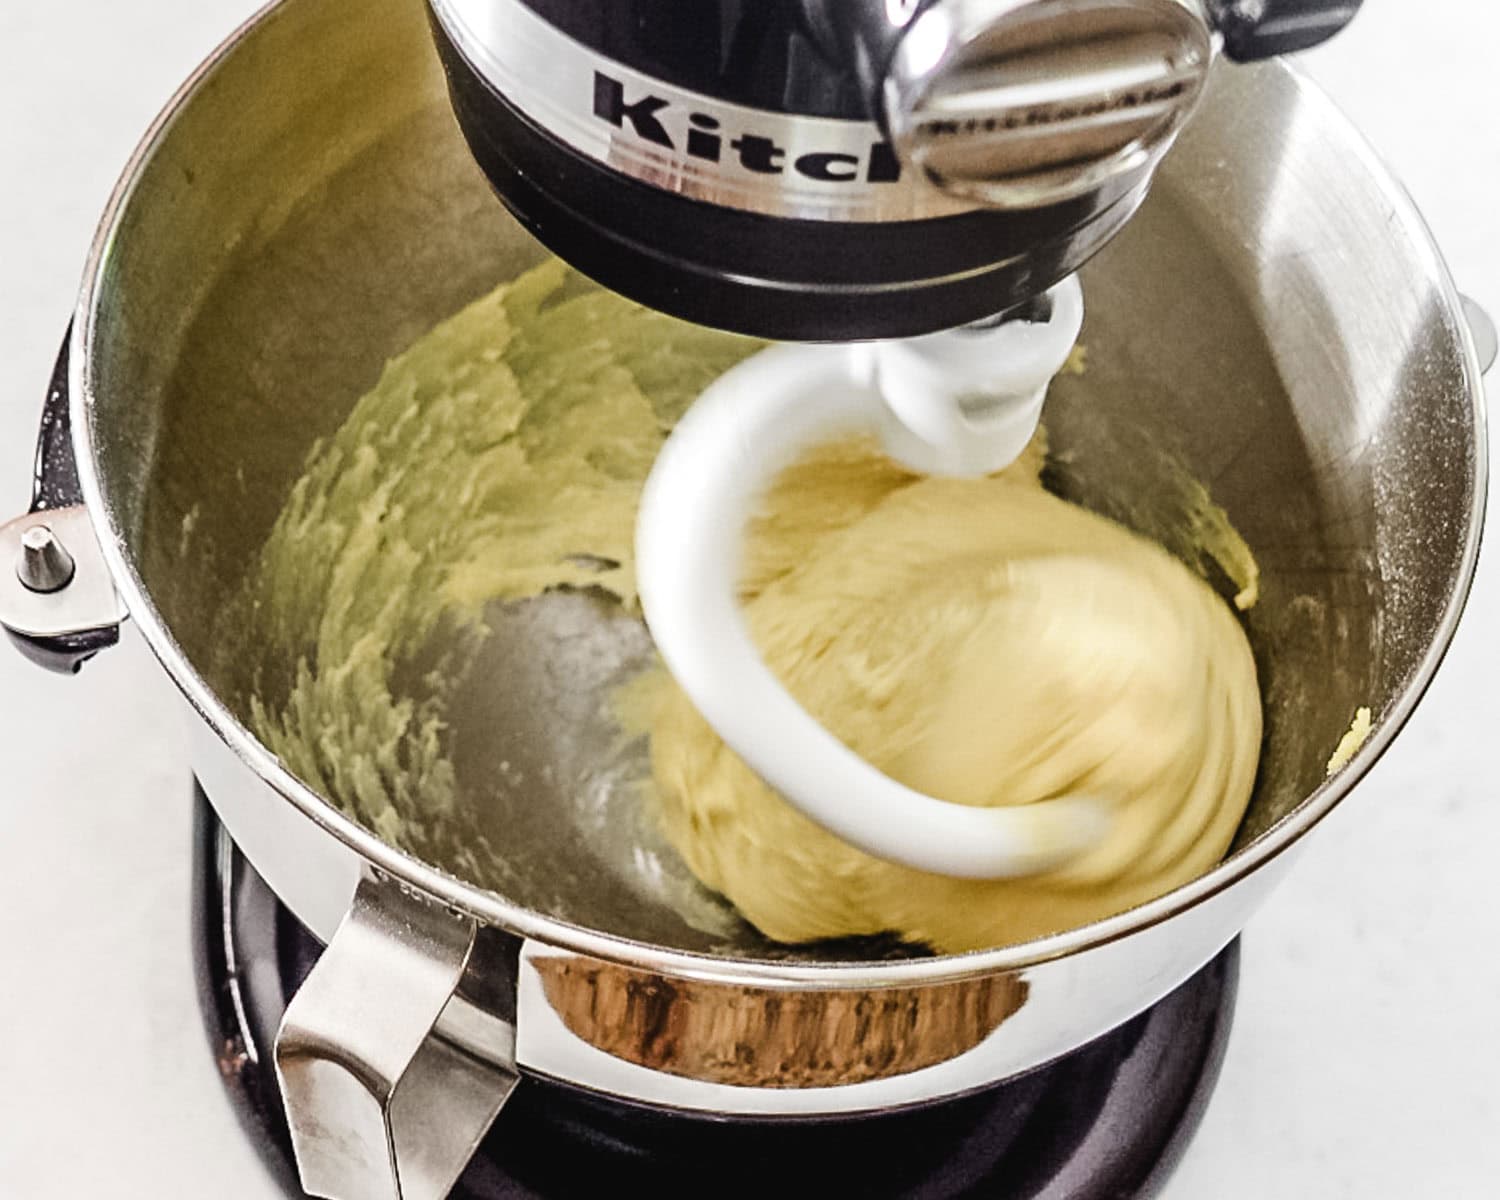


Proofed challah dough.
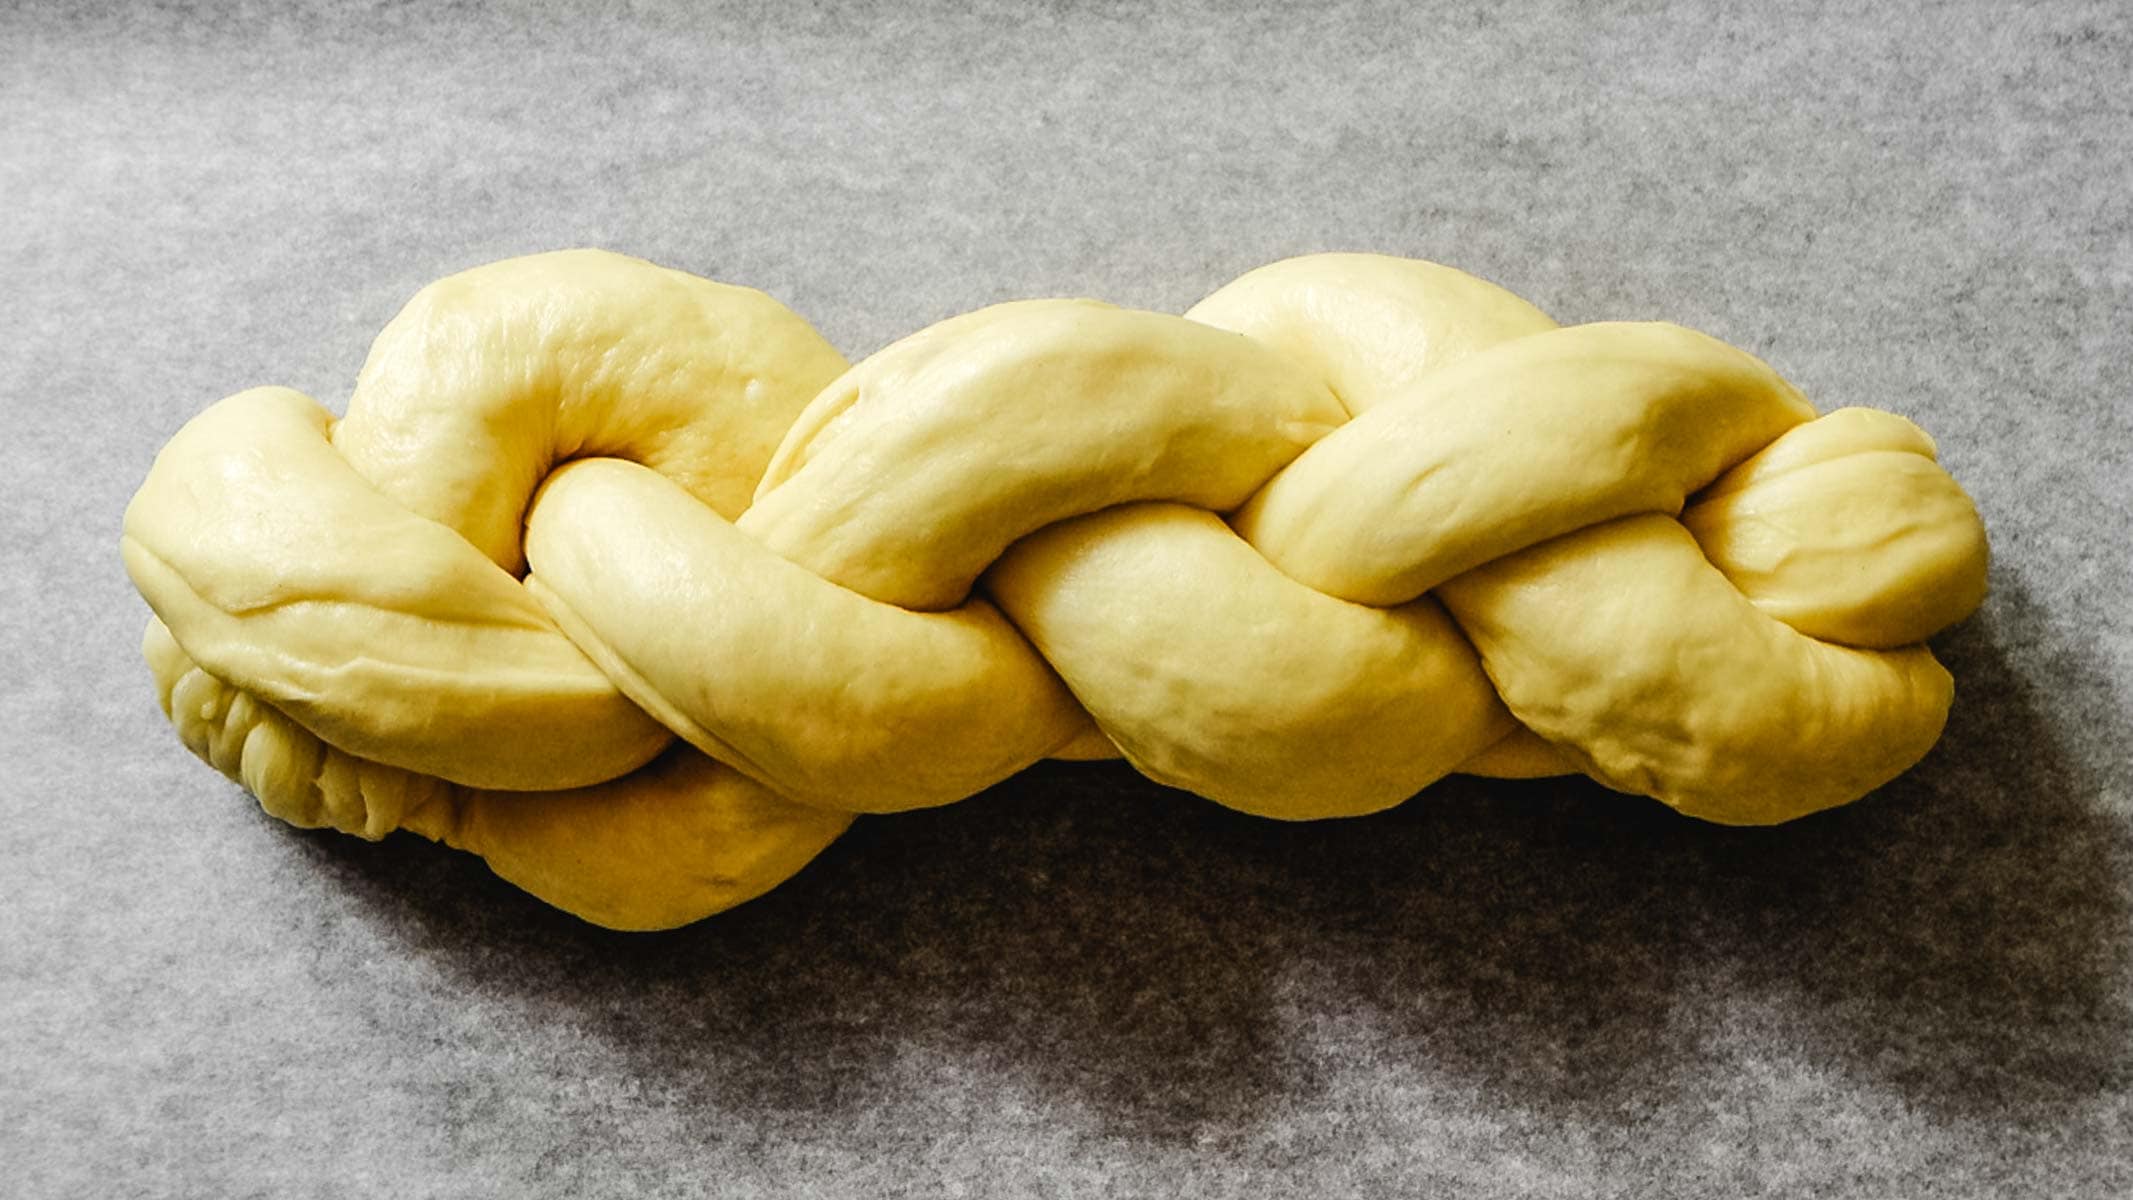
Braid the Dough: Lift the rope at 12 o’clock, bring over the center, and place in the 5 o’clock position.
Lift the rope at 6 o’clock, bring over the center, and place in the 12 o’clock position. Lift the rope at 9 o’clock, bring over the center, and place in the 4 o’clock position.
Lift the rope at 3 o’clock and, working toward yourself, bring over the braid and place in the 8 o’clock position. Adjust ropes so they are at 12, 3, 6, and 9 o’clock positions
Repeat these steps, working toward yourself, until you there is no dough left to braid. The loaf will naturally list to one side. Pinch the ends of the rope together and tuck both ends under the braid.
How to Braid 4-Strand Challah Video (<1 Minute)
To Store Challah Bread
Bread can be stored at room temperature in a bread bag, bread box or plastic wrap for 3-4 days. Refrigerate for up to 1 week
To freeze, slice bread and place in a single layer on a baking sheet. Freeze for at least an hour then place in a freezer-safe bag and store in freezer for up to 3 months. Thaw at room temperature or defrost in the microwave at 50% power

Pro tips for making fluffy challah bread
- Most bread recipes call for you to knead your bread on a lightly floured surface. For this challah bread recipe, it is not recommended that you flour your kneading surface. This is because friction is needed to roll and braid the ropes of bread dough. Also, this is a stiff and dry dough, so adding additional flour will increase the dryness, resulting in a much drier and denser loaf of bread. Nope, we do not want that
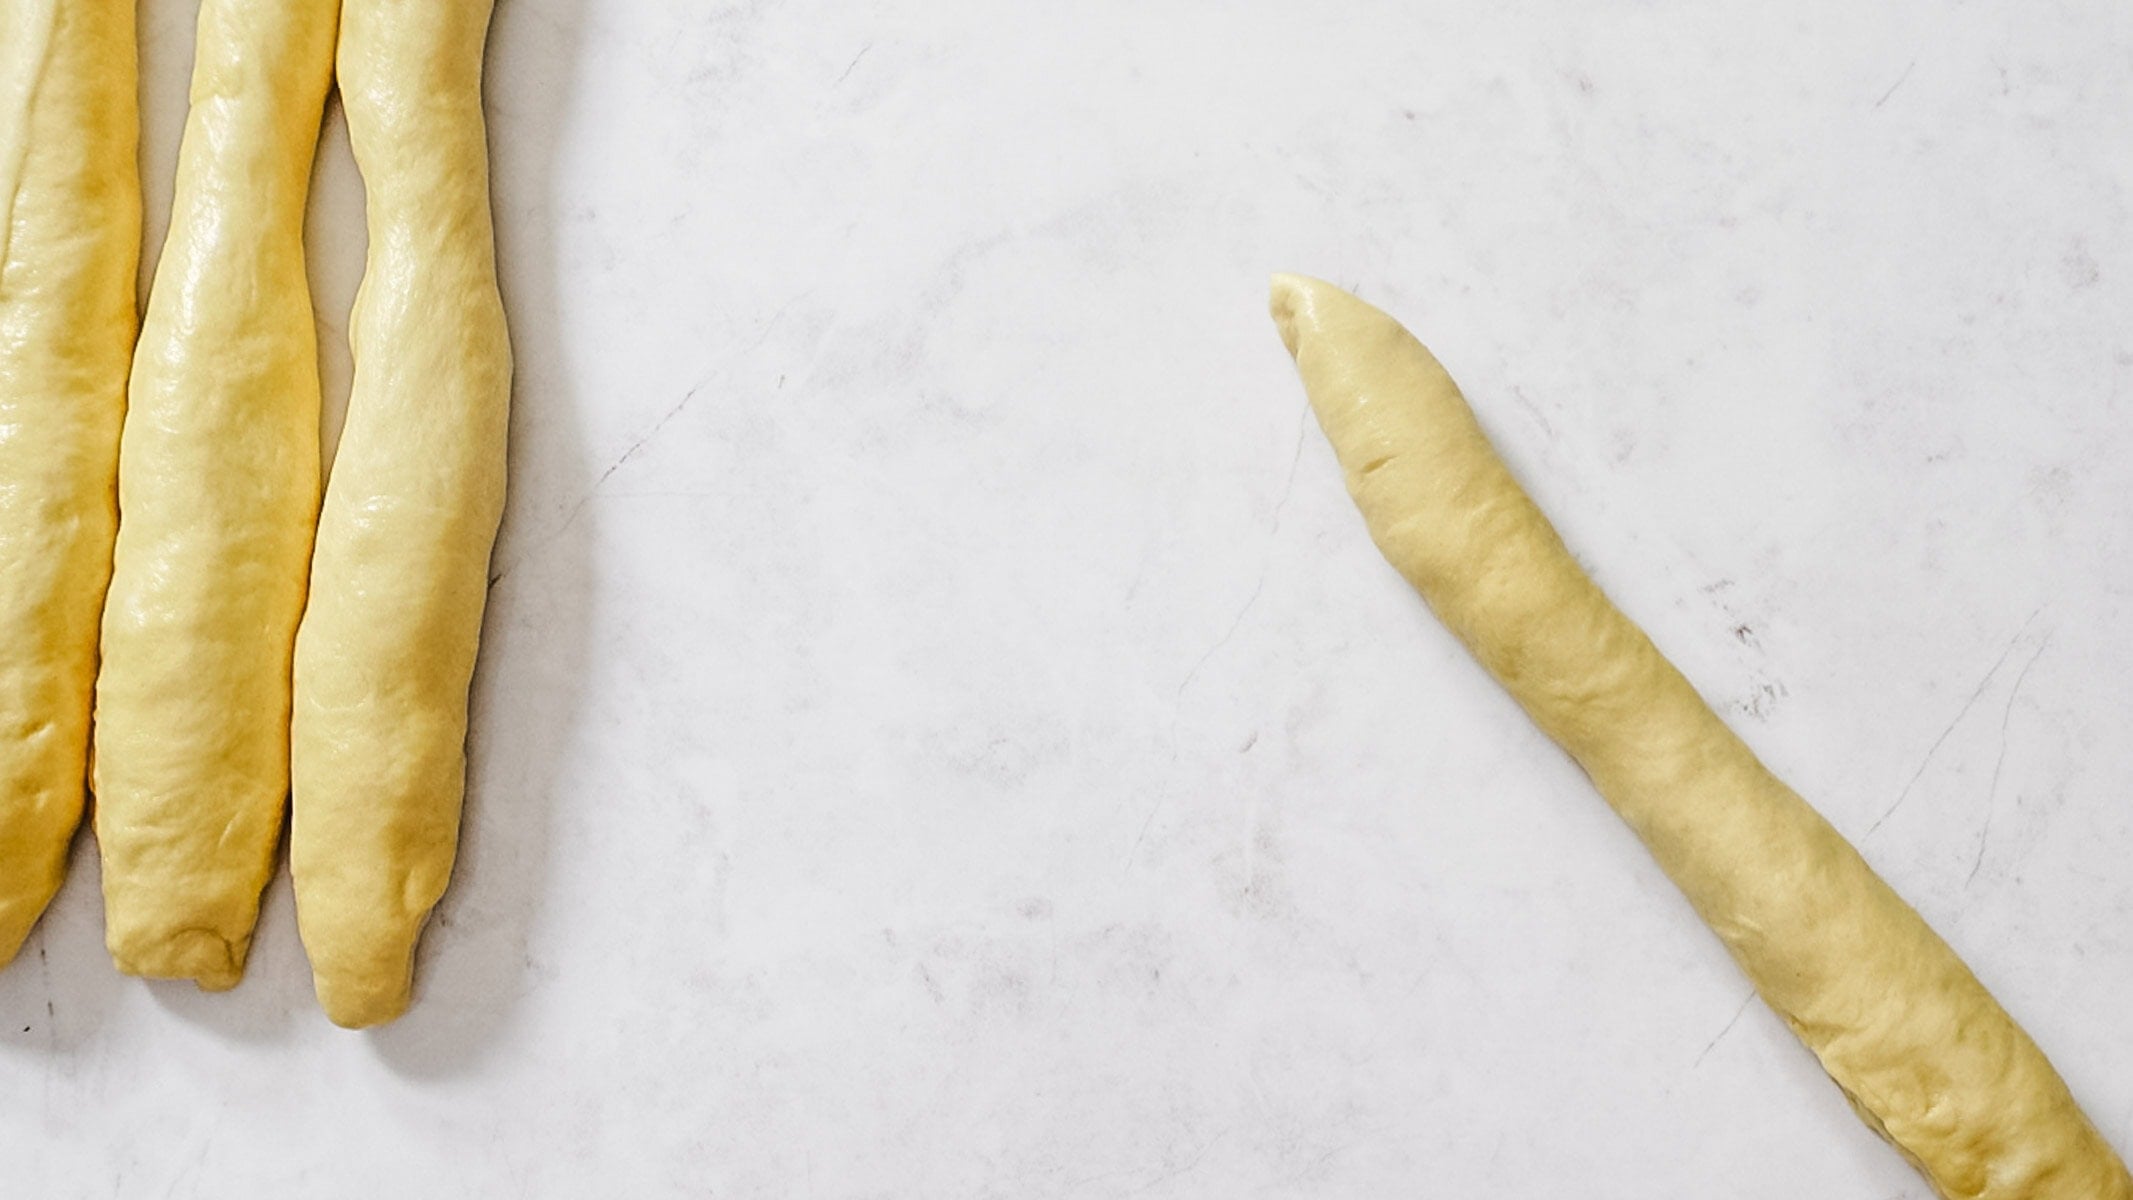
- When rolling out the 4 strands of dough for this challah recipe, taper the ends of all the ropes. This helps you create ends that are less bulky and more proportionate to the rest of the braid. Bulky ends may also require more baking time which could result in overbaking of the rest of your loaf
- Rather than baking your challah bread on a single baking sheet, stack two baking sheets on top of one another to keep the bottom of the loaf from getting too dark or burnt
- As difficult as it may be, follow the recipe instructions to allow the challah loaf to cool completely for at least 2 hours before slicing and eating. (Good luck with that one!)

Make ahead
To make this challah dough ahead of time: after the first rise and after braiding the dough, cover lightly with plastic wrap and place in the fridge overnight. Remove from the fridge 30 minutes prior to baking
Vegan Challah
Vegan challah, also known as water challah, contains no eggs or honey. You're better off looking for a recipe that is specifically for vegan challah or water challah rather than trying to adapt this recipe. This will ensure the best results.
To substitute honey instead of sugar
The rule of thumb when swapping sugar for honey in baked goods is the following: For every 1 cup of sugar, substitute ½ to ⅔ cup honey and subtract ¼ cup of the water from the recipe.
To swap the granulated sugar for honey in this easy challah recipe, use ⅛ cup (2 tablespoons) honey and reduce the water in the dough to ⅛ cup (2 tablespoons). Add the honey with the flour and yeast in step 2 of making the dough. After the 20 minute rest, add the salt and knead.
Enjoy a sourdough bread but want to serve challah? Bake some sourdough challah that is great at dinner or perfect for breakfast!
Like this recipe? Follow me on Pinterest for lots more recipes just like this one! And don’t forget to pin this recipe for later by clicking on one of the images below the recipe. Or, click on any of the images in this post to save to Pinterest.
Looking for more delicious bread recipes? Give these a try:


Ingredients
Flour Paste (Tangzhong)
- ½ cup water
- 3 tablespoons bread flour
Challah Dough
- ¼ cup water
- 2 tablespoons vegetable oil
- 1 large egg
- 2 large egg yolks (reserve egg whites for egg wash, if desired)
- 2 ¾ cups bread flour
- 1 ¼ teaspoons instant yeast or rapid-rise yeast
- ¼ cup granulated sugar
- 1 teaspoon kosher salt
Egg Wash
- 1 large egg or reserved egg whites from dough
- pinch kosher salt
- 1 tablespoon sesame seeds, poppy seeds, or everything bagel seasoning optional
Instructions
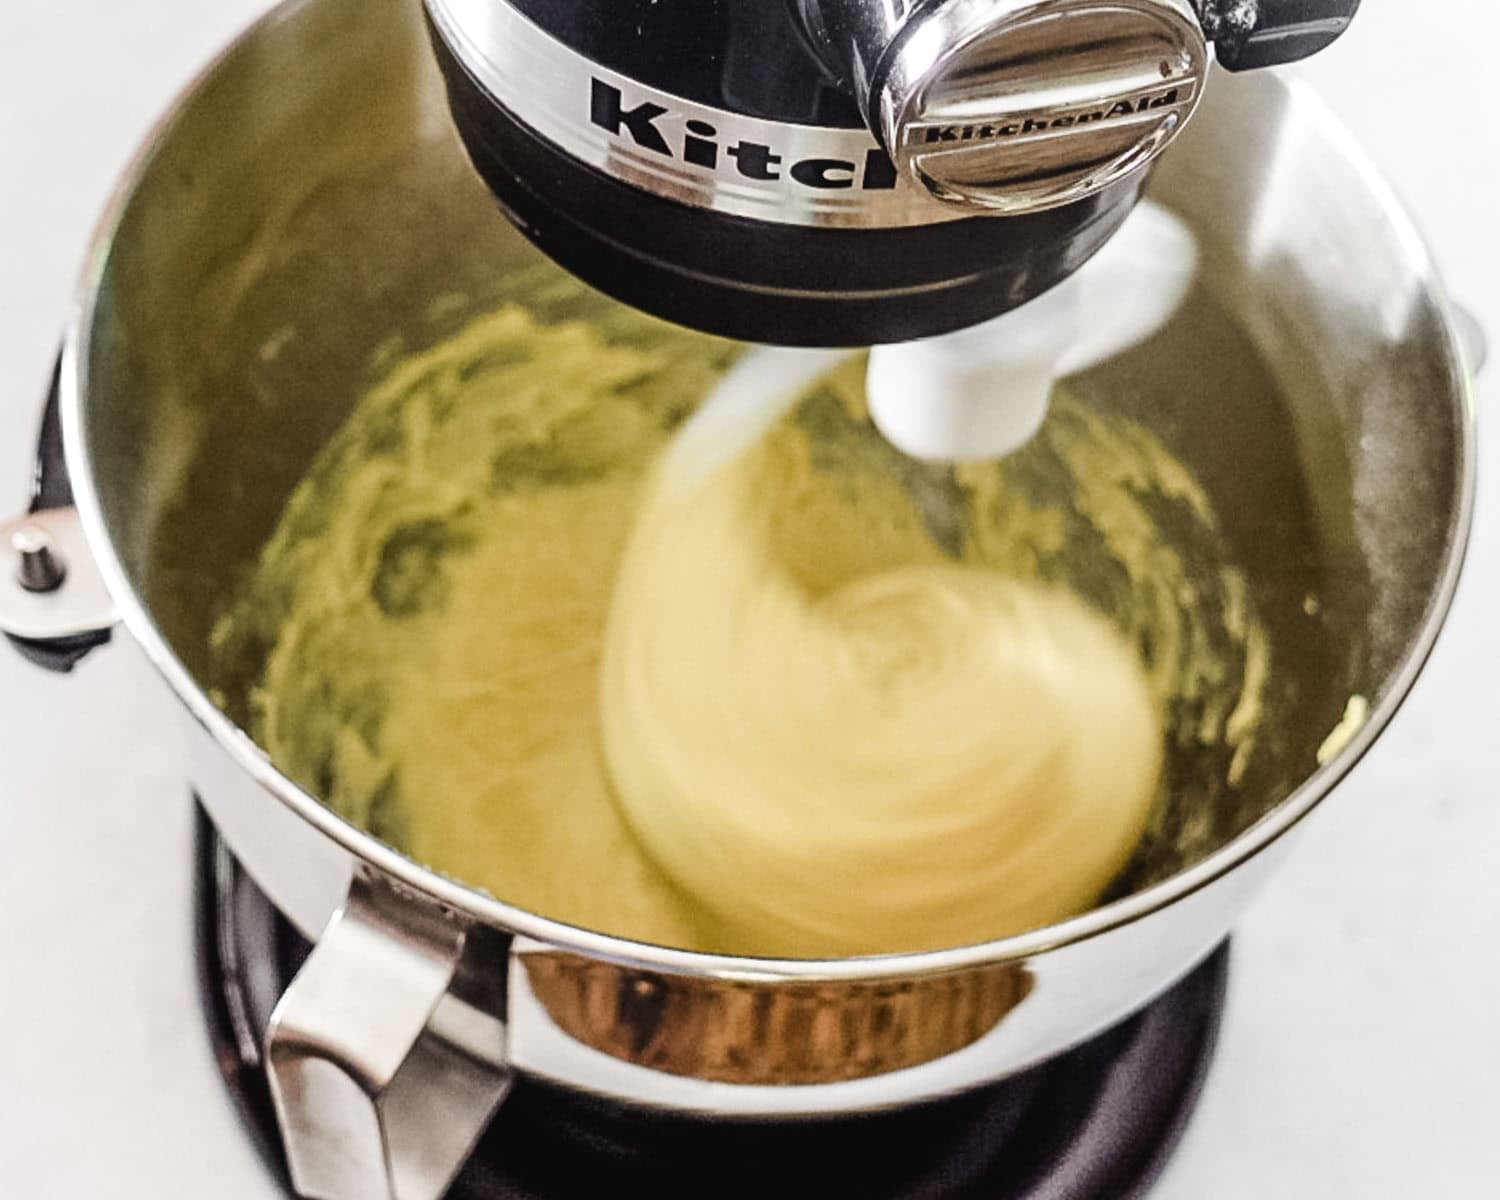
Make Flour Paste:
- Whisk water and flour in a small bowl until no lumps remain½ cup water, 3 tablespoons bread flour
- Microwave, whisking every 20 seconds, until mixture thickens to a stiff, smooth, pudding-like consistency that forms a mound when dropped from the end of a whisk into the bowl, about 40 to 80 seconds
Make the Dough:
- In the bowl of a stand mixer, whisk together the flour paste from Step 1, water and vegetable oil. Then add the egg and egg yolks. Whisk well until combined1 large egg , ¼ cup water, 2 tablespoons vegetable oil, 2 large egg yolks
- Add the flour and yeast. Fit mixer with dough hook and mix on low speed until all flour is moistened, 3 to 4 minutes. Cover with a clean towel and let stand for 20 minutes2 ¾ cups bread flour, 1 ¼ teaspoons instant yeast
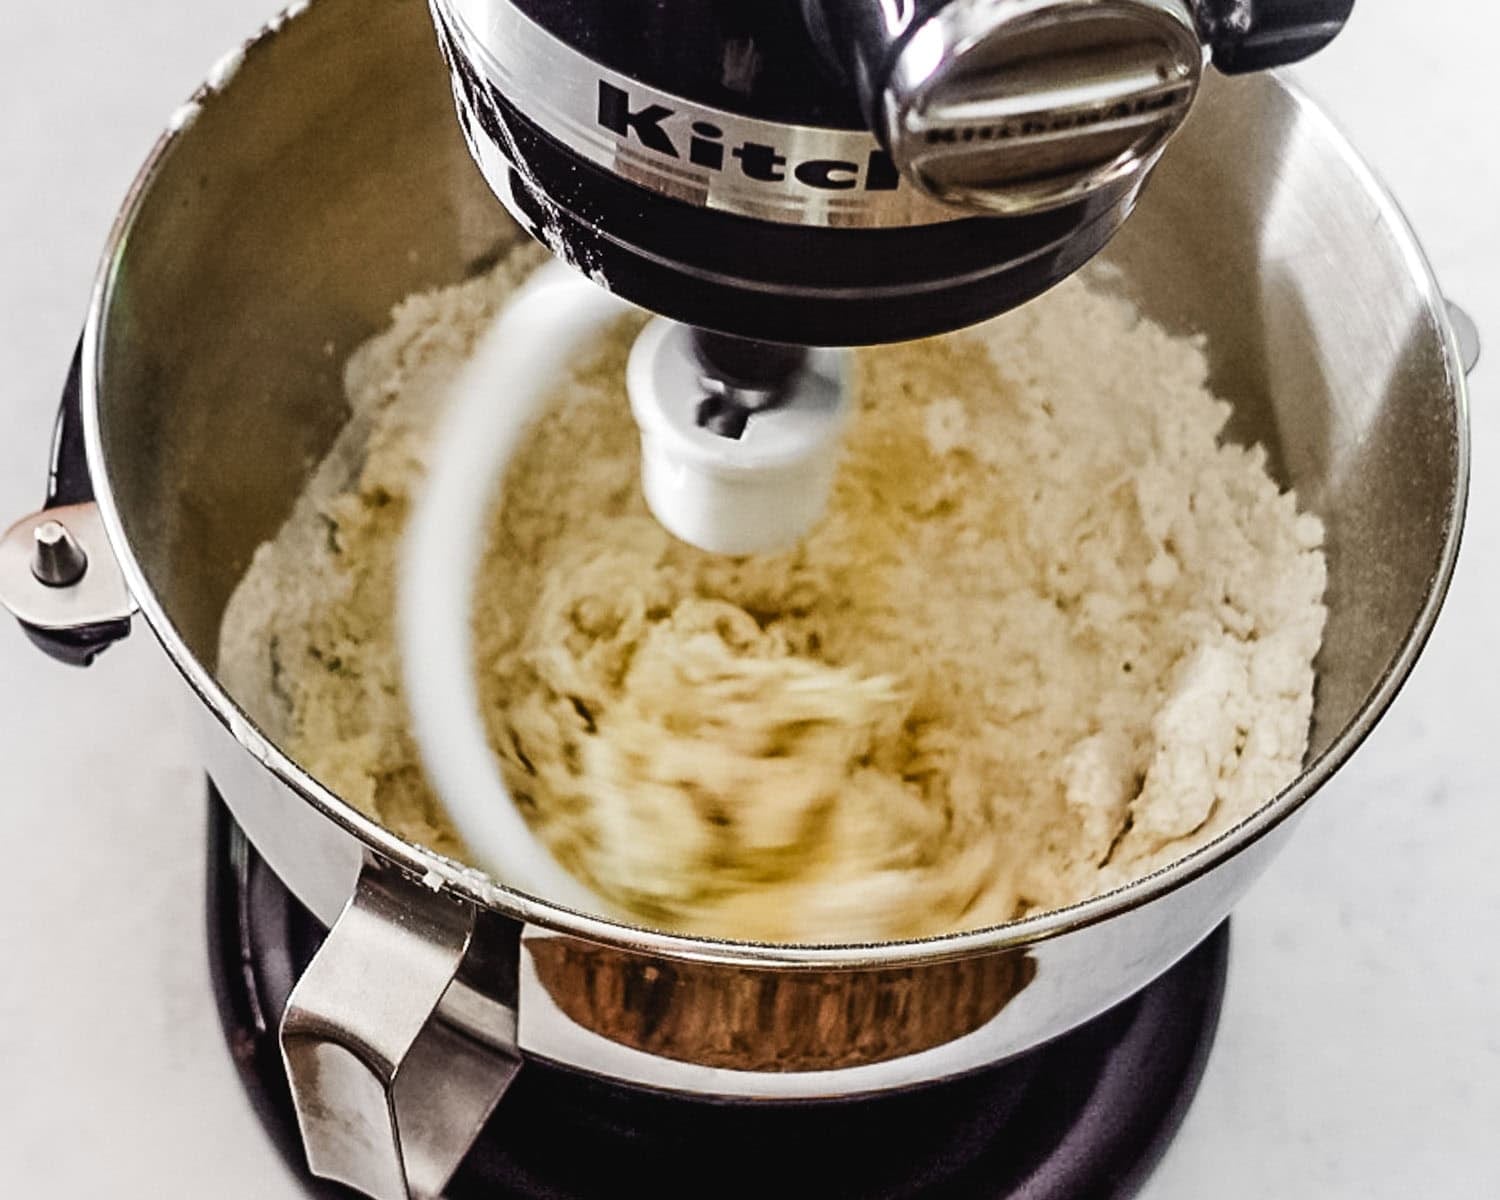
- After the 20 minutes, remove the towel and add the sugar and salt to the bowl. Knead on medium speed for 9 minutes. Dough should be wrapped around the dough hook without sticking to the bottom or sides of the bowl. If the dough is sticking, add more flour, 1 tablespoon at a time, up to ¼ cup more, allowing the flour to fully incorporate before adding more¼ cup granulated sugar, 1 teaspoon kosher salt
- Transfer the dough to a clean counter and lightly coat the now-empty mixing bowl with vegetable oil. Form the dough into a ball and return it to the oiled bowl, turning to coat all sides lightly in oil. Cover the bowl with plastic wrap. Let the dough rise until about doubled in volume, about 1-1 ½ hours
- Line a rimmed baking sheet with parchment paper and stack on top of a second rimmed baking sheet to prevent the bottom of the bread from getting too browned or burnt. Set on your counter next to where you'll be shaping the dough
- Remove the dough from the bowl onto clean counter and press into an 8-inch square, expelling as much air as possible
- Cut the dough in half lengthwise to form 2 rectangles. Cut each rectangle in half lengthwise. You should have 4 equal strips of dough. Roll 1 strip of dough into a 16-inch rope. Continue rolling, tapering ends, until rope is 18 inches long. Repeat with remaining dough strips. Arrange ropes in plus-sign shape, with the ends overlapping in the center by ½ inch. Firmly press the center of the plus sign in the center to seal the ropes to each other and to the counter
Braid the Dough:
- Lift the rope at 12 o’clock, bring over the center, and place in the 5 o’clock position. Lift the rope at 6 o’clock, bring over the center, and place in the 12 o’clock position. Lift the rope at 9 o’clock, bring over the center, and place in the 4 o’clock position. Life the rope at 3 o’clock and, working toward yourself, bring over the braid and place in the 8 o’clock position. Adjust ropes so they are at 12, 3, 6, and 9 o’clock positions
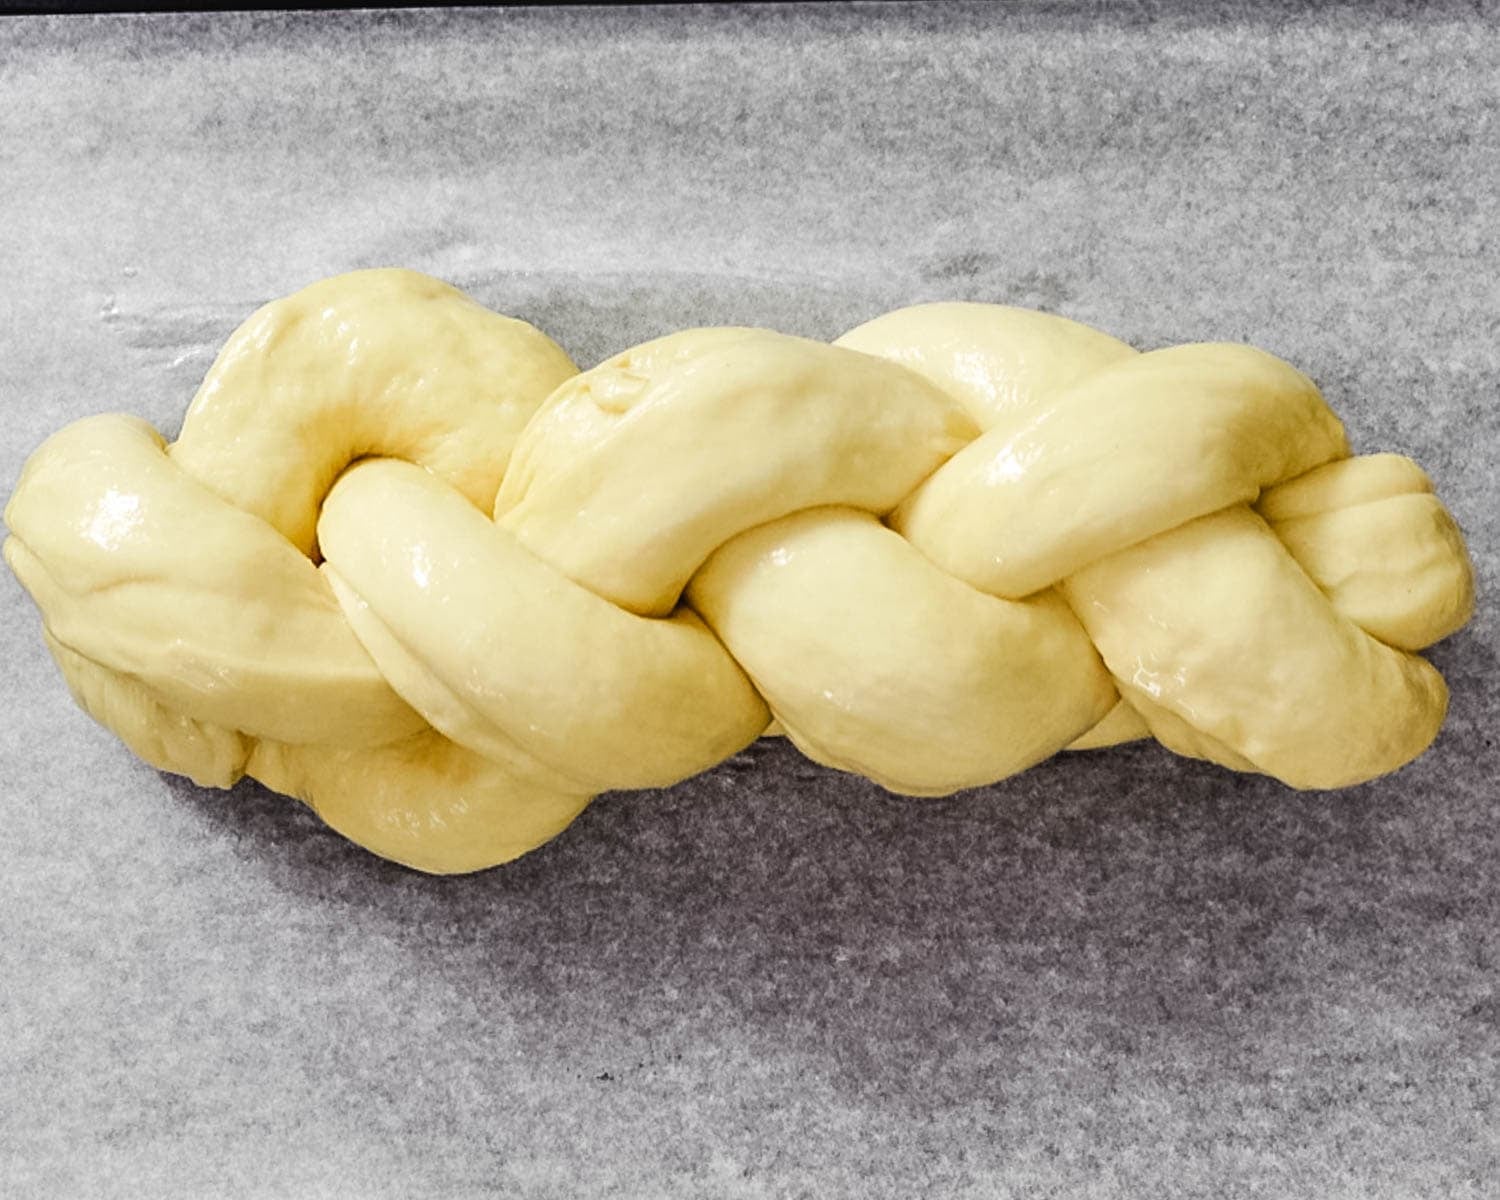
- Repeat these steps, working toward yourself, until you there is no dough left to braid. The loaf will naturally list to one side. Pinch the ends of the rope together and tuck both ends under the braid. Carefully transfer the braid to the prepared baking sheet. Cover loosely with plastic wrap and let rise until the dough does not spring back fully when gently pressed with your knuckle, about 1-2 hours*. Rise time will vary based on the temperature of your kitchen
Make the Egg Wash:
- 30 Minutes before baking, adjust oven rack to the middle position and preheat oven to 350º F. Whisk together egg (or reserved egg whites) and salt. Brush the loaf with egg wash and sprinkle with sesame seeds, poppy seeds, or everything bagel seasoning, if using1 large egg, pinch kosher salt, 1 tablespoon sesame seeds, poppy seeds, or everything bagel seasoning
- Bake until the loaf is a deep golden brown and registers at least 195º F, 30 to 35 minutes. Let the loaf cool on the baking sheet for 20 minutes. Transfer baked loaf to a wire rack and let cool completely before slicing, about 2 hours
Video
Notes
- *If you would prefer to bake the challah the next day, after shaping, cover lightly with plastic wrap and place in the fridge overnight, up to 12 hours. Remove the braided dough from the fridge when you preheat the oven to allow it to come to room temperature before baking.
- Bread can be stored at room temperature in a bread bag, bread box or plastic wrap for 3-4 days. Refrigerate for up to 1 week.
- To freeze, slice bread and place in a single layer on a baking sheet. Freeze for at least an hour then place in a freezer-safe bag and store in freezer for up to 3 months. Thaw at room temperature or defrost in the microwave at 50% power.
- Recipe adapted from Cook’s illustrated Magazine, May & June 2019.
Nutrition


Comments
Traci says
Single-handedly the best Challah recipe I have ever used, and eaten. That says a lot because I’m a professional pastry chef. It’s an extremely unconventional recipe with the flour paste in the beginning but it completely changes the texture and outcome of this recipe. Super delicate golden crust on the outside with a pillowy soft interior.
I did choose to braid this in a six braid round, and it was massive in size. Next time I will make two smaller loaves as the dough is equivalent to about a pound and a half total. My other suggestion is to take the proofing times with a grain of salt. Everybody’s home is a different temperature as well as location and humidity. First rise in the bowl should be doubled in size, and the second rise after braiding should also be doubled in size. Mine doubled in size in just under two hours and not the projected 3hrs. But that’s with any bread recipe. I also made this recipe in grams because it’s far superior to cups and more accurate for anybody who’s looking to make this recipe
Kimberlee Ho says
Love everything you wrote here, Traci!! I totally agree about watching the dough for signs it's ready vs watching the clock. Thank you so very much for baking and for leaving a comment and rating!! Super helpful!
Sara Goverman says
Superb!!mJust wish you had recipe -especially flour- in grams or ounces.
Kimberlee Ho says
Thanks! The recipe is available in grams - right above the Ingredients in the recipe, there's a button you can click to switch the units between customary and metric. That'll give you what you need!
Martha Garza says
I made this bread twice. Doble the recipe, made two loafs. Two loafs gone in four days. This bread is DELICIOSO!!!
My family loves this Challah Bread!! No more store buy challah bread. For the Garza’s
Thank you so much Kim, for this wonderful perfect recipe.
Kim says
This makes me so happy, Martha! Thank you thank you for making my recipe and for sharing your review! I so appreciate it. Happy baking!!
Karhy says
I agree; the best challah ever...I made one Friday; under baked it by about 2 minutes...resulting in the softest and cheesiest challah yet...2 days later and it’s still yummy...
Kim says
woo hoo!
Marlene says
Like others I have made challah before with mixed results. This dough was by the easiest to work with; I usually have issues with it being too sticky. And it rose beautifully and looked exactly like the picture. I added raisins and used a different method to form the strands. Most successful loaf by far! I also wonder if the dough can be made ahead and refrigerated overnight, with shaping and second rise in the morning.or later in the day.
Kim says
I'm so glad you've had success with this recipe! It's one of my faves. I haven't tried refrigerating the dough overnight, but I think it should work. I will try it very soon and report back!
Marlene says
I look forward to hearing how this came out; I suspect it would be fine with some timing adjustments. I will also try it the next time I make this recipe. I made it a second time yesterday and used honey instead of sugar; had to add more flour because of the extra liquid. I will research how to properly substitute honey for sugar before I make it again. (Reduce the water a bit, probably) Ny daughter said to throw out all my other recipes and just make this one! I think she is right!
Kim says
Woo hoo! That last line is my fave - thank you so much for taking the time to leave a comment for others to hear how great this recipe is!
Marc says
I almost always refrigerate my braided challah dough overnight. I read that it helps develop flavor like a brioche.
R Taqqu says
This is a fabulous recipe & practically foolproof. I have only one issue: the braids tend to separate in at least one spot during baking. How does one avoid this
Kim says
I would recommend you pinch the ends of the ropes together very tightly/firmly and tuck them under the braid on the ends to ensure they're secure. You could even pinch the end of the braid to the bottom of the loaf so it stays securely in place. I hope it works out for you next time!
R Taqqu says
Kim, Actually my ends are not the problem. It’s one or more strands that tend to pull away from the others during baking, exposing a small gap. How to fix?
Kim says
Hmmmm I don't know the answer to that one. Have you tried making the braid a bit tighter? I'll do some research to see if I can find an answer on this one.
Shari Cooper says
The challah was amazing, soft and beautiful! I want to make it a little sweeter. How do you suggest I should do that?
Thanks!
Kim says
Hi Shari! You can try using one of the toppings Chanie Applebaum suggests in her challah recipe: https://www.busyinbrooklyn.com/honey-challa-with-assorted-toppings/. I have not tried these myself, however, I've read reviews of her challah recipe and they are fantastic.
Ginny says
When I let it rise overnight on a baking stone do I bake it right away or bring to room temp? Will the stone break if cold and then put in hot oven?
Kim says
I've actually never tried making this by proofing it overnight, so I can't say for sure... if you try it, will you let me know?
John says
How do I make this without a stand mixer ?
Kim says
Hi John! You can knead the dough my hand instead of in a stand mixer.
Kathy says
OMG!,, I just made this today... it came out perfectly...my son and husband loved it... soft and chewy...thank you
Kim says
So very happy to hear this, Kathy!!!
Kathy says
Do you by chance have a video on the braiding technique?
I so excited to try this recipe. I keep reading the recipe over Andover so I’m comfortable with it next week... for Chanukah
Kim says
Hi Kathy! I do actually have a recording of the braiding technique on my Instagram profile http://www.instagram.com/kickassbaker. It's in the highlights section under Recipes. If you aren't on Instagram, look up '4-strand challah braiding' on YouTube. There's some great tutorials on there!
Kathy says
Hi, I’m looking for a challah to make for Chanukah next week. I’ve made challah before but it didn’t come out soft and chewy. Does this produce a soft and chewy bread? It sounds yummy
Kim says
This is the best, softest challah I've ever had! I think you'll really like it!
Rhonda Brandes says
I had this challah at my son and daughter in law's home and it was awesome. Making it today myself. In step 3 where it says to mix on medium speed for 9 minutes, is that with the dough hook or do I change to the paddle?
Kim says
How wonderful! Yes, mix with the dough hook. If using a Kitchenaid stand mixer, set it on speed 2.
Kathy says
I've never had Challah bread before so can't compare the taste but it is delicious! My braid fell apart a little during baking but it turned out pretty well for a first time.
Kim says
so happy you tried it and love it!
Lana D. says
Hi Kim,
I have been baking challah for years, using a recipe that I evolved from a traditional recipe a friend shared with me five years ago, which calls for approximately 5lbs of flour so that you can make a special blessing. I am intrigued by your recipe and the ancient method of starting with a paste, so very much would like to try it. I can do the math and increase your recipe 7 times (if my math is correct), but if you were already asked this question and have an adjusted recipe to share, I would be grateful.
Many thanks in advance,
Kim says
Hi Lana! I'm so excited for you to try this recipe! I have only made two loaves at a time and in that case I make them separately, meaning I create one dough at a time. I haven't been asked this question before and I'm curious to hear how it comes out using your calculations. Please do share! And best of luck!!
Karen A says
I made two double batches to cover the minimum amount of flour for the blessing, It didn't take much extra time, and the second batch rose as the first one baked.
And that way I could have one double batch with all white flour and one with some other flours mixed in.
PS I also recommended printing for a single batch and working out the doubling by hand
Kim says
so happy to hear it worked out! thanks for sharing this, it's helpful for me and others 🙂
Lana D. says
Thanks for your comment Karen. Will definitely try your suggestion.
Lana D. says
Thanks for getting back to me Kim. Will git it a try and let you know how it came out So excited....
Ashwin says
Thanks for sharing this recipe. This is my go-to now. Just a word of caution to the readers. if you want to double/triple the recipe, please do it using the calculator, as weights don't double/triple along with the volume measurements.
Kim says
So happy to hear that you love this recipe as much as I do! And great tip about the measurements, thanks for sharing that 🙂
STEPHANIE STISLOW says
I wanted to add to my comment from Sept 21 2020 that I didn't have bread flour when I made the challah so used all purpose flour for the whole thing and it still came out heavenly.
(This comment was made by a family member of Kickass Baker's owner.)
Kim says
That's great to hear! Thanks for sharing, this will be helpful for others (including me!).
Stephanie Stislow says
My challah came out perfect! I followed the recipe exactly (with the addition of a little help from a YouTube video for a visual on the braiding) and the loaf came out exactly perfect. I'm so excited. I loved it, my family loved it and I will definitely be making it again. Maybe this week. Can I make, and eat, two loaves in one week? I think YES! Thank you for this recipe. I don't think I would've been brave enough to attempt challah otherwise.
(This comment was made by a family member of Kickass Baker's owner.)
Kim says
I'm so so happy to hear this Steph!! I'm getting into video now so I'll be sure to post a video on how to braid this challah in the near future. I also have a video of it in my Instagram Story highlights, if you want to refer to that in the future. Thanks for baking and sharing!
Chris says
Hi Kim,
Thank you for sharing your challah recipe! My girlfriend and I are excited to try it.
In the future, however, would it be possible to add a time estimation to the proofing component? Being novice bakers, we thought we would be able to complete the recipe in around 70 minutes (prep time plus baking), but the actual recipe is closer to eight hours because of the proofing!
I understand that this is most likely something an experienced baker would know to look out for, but we felt a bit put out having started the endeavor at 7pm on a Monday.
Looking forward to doing it right on a weekend 🙂
All the best,
-Chris
Kim says
Thanks for sharing this, Chris! I will make this update to the recipe card, as I think you're right, other bakers may not know this if they haven't made bread before, so it would certainly be useful. I hope you still make it and love it as much as I do! It's totally worth it.
Karen says
Hi Kim,
I came across your tangzhong challah this week. Even after making 4 batches of challah for the holidays, I still had to try it!
Question 1: is the paste added to the eggs etc. while hot? Does it work even if it doesn't get to the "mound" stage?
Question 2: I usually knead at "stir" on my kitchenaid, but the dough was way too sticky after 8 minutes. I caved and added more flour, then noticed that the instructions were to use medium speed. Would a faster knead have taken care of the stickiness?
Thanks!
Kim says
Hi Karen! I'm so glad you want to make another Challah recipe - this one is a good one for sure! Yes, I add the paste to the eggs after it's microwaved. I have found that the mixture is generally not hot enough to scramble the eggs because it's only been microwaved for a short period of time. Additionally, once you whisk the flour and water it cools a bit. If you are concerned it's still too warm to add the eggs, I would wait for it to cool down a bit or add the water and oil first then the eggs. As far as the stickiness, it sounds like there needed to be more flour added. I typically add it a little at a time until it pulls away from the sides of the bowl. Good luck!
Karen Adler says
Hi Kim,
Thanks for your response.
The challah was a huge hit - the ropes mounded up like bakery challah, which I had never managed before.
Thanks so much for the total game-changer!
Kim says
You just made my day!! So happy to hear this Karen! Thanks for baking and sharing 😃.